In the previous post, we talked about the Snipe-IT asset inventory. In this post, we will perform the snipeit installation with HTTPS security protocol and access control.
Installation Steps:
Install the necessary utilities, docker, and git.
yum install -y yum-utils &&
yum-config-manager --add-repo https://download.docker.com/linux/centos/docker-ce.repo &&
yum install -y docker-ce docker-ce-cli containerd.io docker-buildx-plugin docker-compose-plugin &&
yum install -y git vim docker-compose
Also, install Docker Compose:
sudo curl -L "https://github.com/docker/compose/releases/download/1.23.2/docker-compose-$(uname -s)-$(uname -m)" -o /usr/local/bin/docker-compose && sudo chmod +x /usr/local/bin/docker-compose && docker-compose --versionStart the Docker service:
systemctl enable docker && systemctl start dockerDownload the Snipe-IT repository:
git clone https://github.com/snipe/snipe-it.gitNavigate to the snipe-it directory:
cd snipe-it/Edit the .env.docker file. Make the following changes:
Change the timezone according to your region:
APP_TIMEZONE='America/Sao_Paulo'Change the APP_URL variable to use the HTTPS protocol and assign the URL according to your hostname or IP. Change the port to 8100; it will point to port 443 of the container:
APP_URL=https://domain.com.br:8100In the SMTP settings, add your email information. For example:
MAIL_HOST=smtp.gmail.com
MAIL_PORT=587
MAIL_USERNAME=admin@gmail.com
MAIL_PASSWORD=SenhaExemplo$
MAIL_ENCRYPTION=TLS
MAIL_FROM_ADDR=admin@gmail.com
MAIL_FROM_NAME='Snipe-IT'
MAIL_REPLYTO_ADDR=admin@gmail.com
MAIL_REPLYTO_NAME='Snipe-IT'
*Pode ser que o gmail bloqueie esta conexão, será necessário pesquisar o procedimento para permitir. Neste exemplo está sendo usado provedor de e-mail privado.
In the database settings, change the DB_HOST variable accordingly:
DB_HOST=snipedbIn the proxy settings, comment out the APP_TRUSTED_PROXIES variable:
#APP_TRUSTED_PROXIES=192.168.1.1,10.0.0.1Save the .env.docker file.
Edit the Dockerfile.alpine file by adding the apache2-ssl package to the package installation:
mysql-client \
tini \
apache2-ssl
At the end of the Dockerfile.alpine file, add port 443 with the expose parameter:
EXPOSE 80
EXPOSE 443
Save the Dockerfile.alpine file.
Edit the docker-compose.yml file and expose port 443 to the snipeit container:
ports:
  - "8000:80"
  - "8100:443"
Also, change the mariadb to snipedb:
depends on:
- snipedb
- redis
snipedb:
image: mariadb:10.6.4-focalIn the snipeit service, in the volume information, change the line to:
- logs:/var/www/html/storage/logsIn the volumes at the end of the file, add the logs volume:
volumes:
  db: {}
  logs: {}
Save the docker-compose.yml file.
Now, deploy the application by creating the containers. Stay in the snipe-it directory and run the command:
docker-compose up -dOnce the deployment finishes, run the docker ps command to verify the containers. You should see the containers:
snipe-it
snipe-it_mailhog_1
snipe-it_redis_1
snipe-it_snipedb_1
The volume of the snipeit container is: /var/lib/docker/volumes/snipe-it_logs/_data/. Access this directory:
cd /var/lib/docker/volumes/snipe-it_logs/_data/Here, you need an SSL certificate to use HTTPS. If you already have the SSL certificate, copy it to this directory. You can also generate the certificate as follows:
Generate a signing key:
openssl genrsa -out mycert.key 2048Using this key, request the certificate with the command:
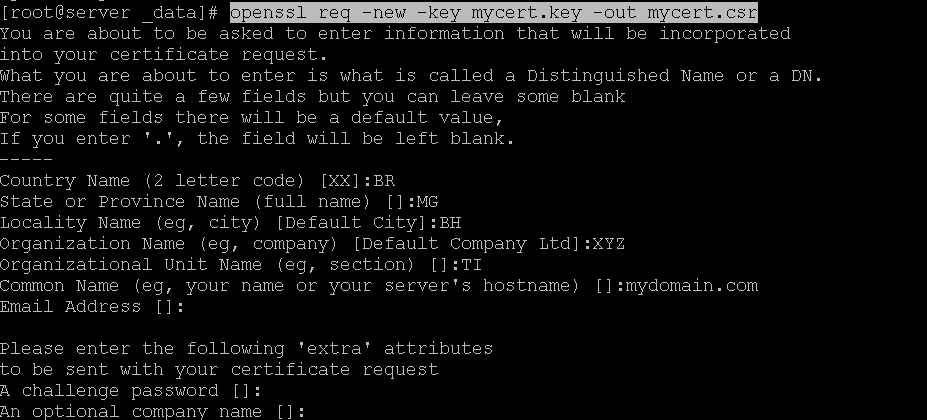
openssl req -new -key mycert.key -out mycert.csrHere, you should fill in the requested information according to your details.
Now, sign the csr file:
openssl x509 -req -days 365 -in mycert.csr -signkey mycert.key -out mycert.crtChecking the files, you should have these three files in the directory.
[root@server _data]# ls
mycert.crt mycert.csr mycert.key
To import this certificate, access the snipeit container. Run the command:
docker exec -it -uroot snipeit /bin/shNow, you are inside the snipeit container.
/var/www/html # Inside the container, edit the /etc/apache2/conf.d/ssl.conf file:
vi /etc/apache2/conf.d/ssl.confIn the VirtualHost code block, edit it as follows:
<VirtualHost _default_:443>
	DocumentRoot "/var/www/html/public"
	ServerName www.example.com:443
	ServerAdmin you@example.com
<Directory "/var/www/html/public">
	AllowOverride All
	Require all granted
	Order deny,allow
	Deny from all
	Allow from 192.168.0
</Directory>
ErrorLog logs/ssl_error.log
TransferLog logs/ssl_access.log
In the Allow from 192.168.0 line, the IP refers to your IP address. Provide only the first three numbers of the IP xx.xx.xx. This configuration will make the application accessible only from your internal network.
Edit the SSL certificate parameters and point to the certificates in the volumes directory. The volume of this container is in the directory /var/www/html/storage/logs.
Listing the contents of this directory will show the certificates created in this volume.
/var/www/html # ls /var/www/html/storage/logs/
mycert.crt mycert.csr mycert.key
Still in the ssl.conf file, edit the SSLCertificateFile and SSLCertificateKeyFile parameters:
SSLCertificateFile /var/www/html/storage/logs/mycert.crt
SSLCertificateKeyFile /var/www/html/storage/logs/mycert.key
Save the ssl.conf file and use the ctrl + p + q keys to exit the container without stopping it.
Restart the container:
docker restart snipeitNow, access the web application via HTTPS on the hostname or IP and port you defined.
Example
https://domain.com.br:8100
You will access the Snipe-IT configuration screen.
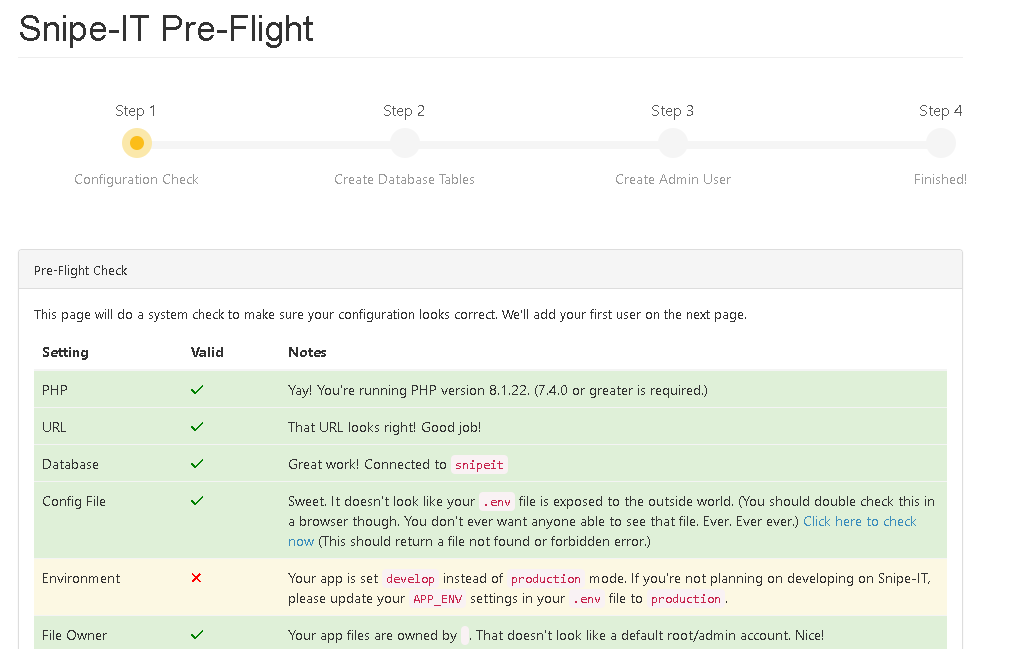
In the Email option, click on Send Test to validate this functionality.
*If you are using Gmail, it may block this function, and you may need to research the process to allow it.

Check your email inbox.

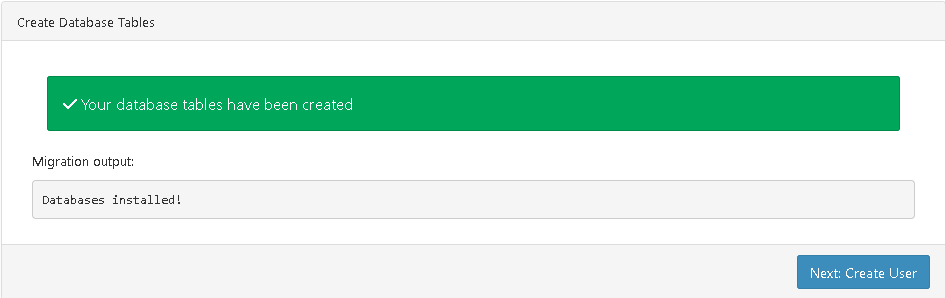
Click on Create Database
Create User
Fill in the user, company, and other information.
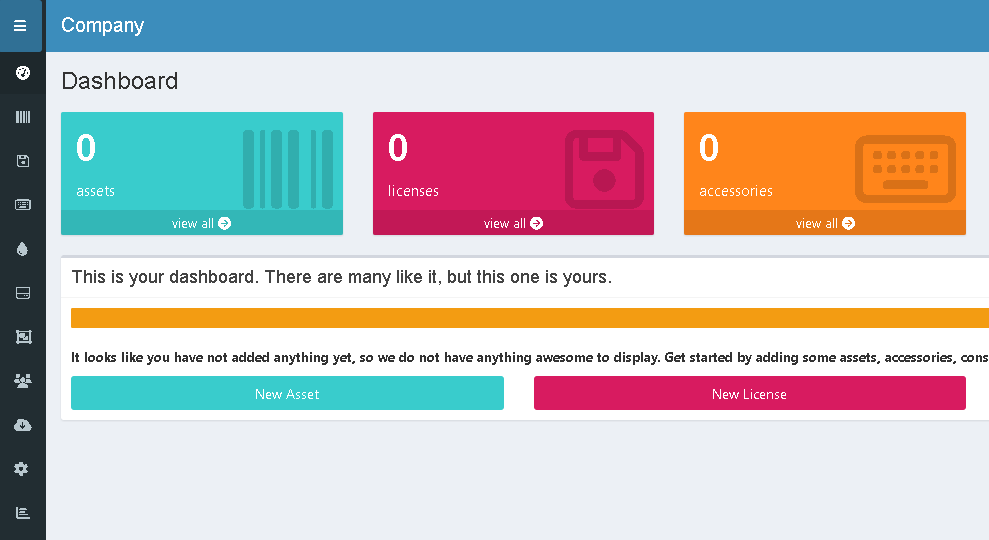
Once saved, you will be in the application interface.
The installation is complete. More posts continuing this tutorial will be created, covering customization of the tool, asset importation, and steps necessary to back up the database.
Link para documentação - Installation
Leave a Reply